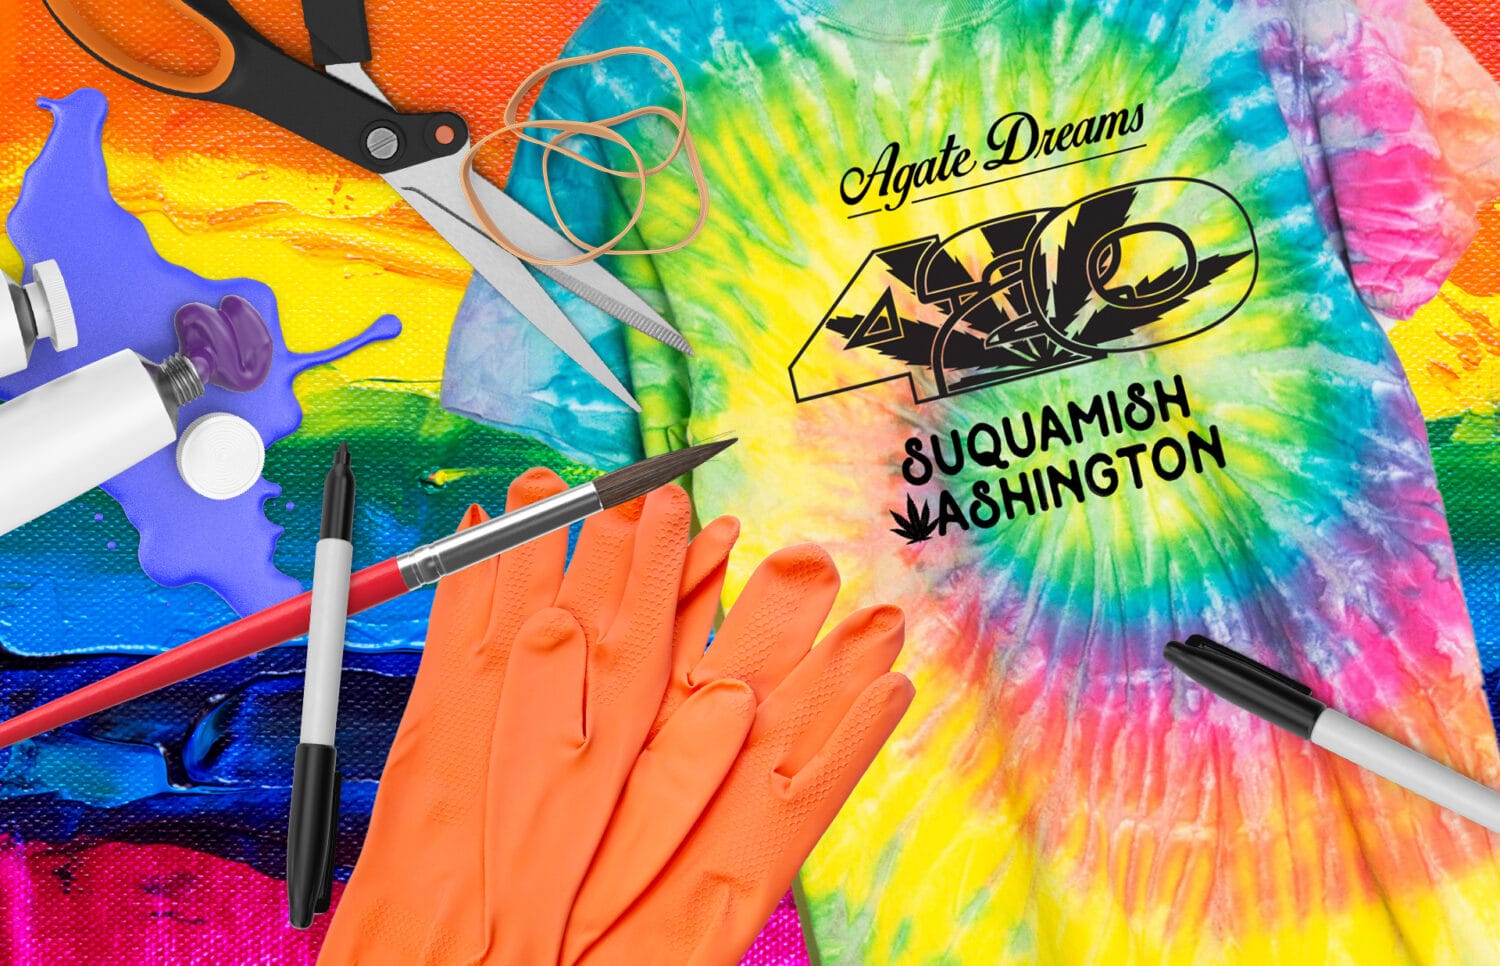
Alright Agate Dreamers, it’s time to get crafty!
We’re handing out special edition white 420 t-shirts at our party and we want you to show us what you’ve got! We’ll share some tips & tricks, but when it comes down to it, it’s up to YOU how you want to decorate your new duds! Share your crafty creations with us to get featured on our social pages!
Option 1: Good Ol’ Fashion Tie-Dye!
We all love a good old fashion tie-dye so ring ‘em up and get to splashing – okay maybe don’t splash – that dye stains SO FAST. If you’re not familiar with the idea of tie-dye, 1) where have you been living, under a rock?! and 2) we’ll give you some tips.
Tip 1: Although you could make your own dye, the easiest way to get started would be a boxed kit. Every craft store known to humankind will have at least a couple boxed tie-dye kits you can snag (or order online if you’re stuck at home right now). Inside is all the dye and rubber bands you’ll need for success, creativity not included.
Tip 1.5: If you do end up using a kit, you can try your luck with the gloves they include but oftentimes they’re flimsy and may leave your hands more colorful than you’d like. Maybe use old dishwashing gloves or rubber gloves you use for oil changes? Don’t get this dye on anything you don’t want to permanently rainbow-fy.
Tip 2: When getting ready to dye, do a quick google search for ways to tie up your garment to get the classic tie-dye swirl OR just pray to the groovy gods and go for it – either way, you’ve added color to what was once a white t-shirt and we think that counts.
Tip 3: Let your dye soaked Tee sit as long as you can wait before washing it out – a full 24 hours if you’re that patient. This will make it easier to wash out any loose dye.
With these tips under your belt, you’ll be a tie-dying champ before we can finish this blog!
Option 2: Permanent marker!
Maybe you don’t feel like dealing with the mess of dye, maybe you’d like more creative control over what your shirt looks like, or maybe you just have a LOT of Sharpies on hand. Permanent markers can be a good option in the least messy way possible. You can pretty much wear your decorated shirt right away if you want – no wait necessary!
Tip 1: Use a piece of old cardboard on the inside of the shirt to flatten it out and act like a barrier between the front and the back of the shirt – just like permanent markers will leak through paper, that ink will seep right into the back of your tee and on to your table.
Tip 2: If you want that design to last longer than a few washes, try setting it with heat. Use an iron (without steam) on a high temp to really seal in the ink before washing it.
Tip 3: If you’re feeling adventurous and want to try making a tie-dye design with sharpies, try using isopropyl alcohol to make the ink run.
Option 3: Fabric Paint!
Another great option found at every craft store and cousin’s father’s aunt’s sewing closet is fabric paint! Fabric paint is a great in-between option for decorating your shirt. Not as messy and unforgiving as dye but not as fine-tipped or fast as permanent marker. While you could use other kinds of paints, they may not have the staying power of paint designed specifically for fabric.
Tip 1: Do the same cardboard in-the-shirt trick as with permanent markers. Paint too will bleed through fabric and can make a real mess if you’re not paying attention.
Tip 2: If you’re really looking forward to wearing your design, or want to add a few more layers without mixing up the colors – use a hairdryer to quick-dry your design! You’ll be ready to strut your stuff in no time!
Options 4-infinity: It’s up to you!
The beauty of this project is that it’s really up to you. If you’re a minimalist – maybe you just leave the shirt as it is. You could get real Texas with it and bedazzle the heck out of it with rhinestones. Maybe you want to rep the Vegas vibe and use scissors to reconstruct it. If you’re a craft god, you could do all of the above – although we can’t imagine it’d be very comfortable to wear. Whatever you decide, share it with us! We can’t wait to see you do!


 are registered trademarks of Suquamish Evergreen Corporation (SEC). Use of the ® symbol herein designates SEC’s trademark rights in association with only those goods and services listed in Reg. Nos. 7,402,321; 7,668,174; 7,668,175; and 7,711,503